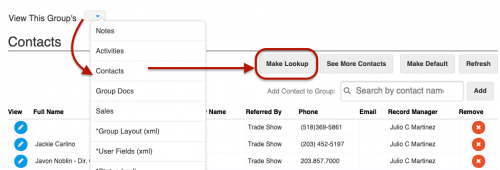
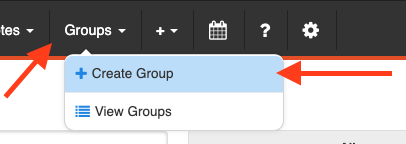
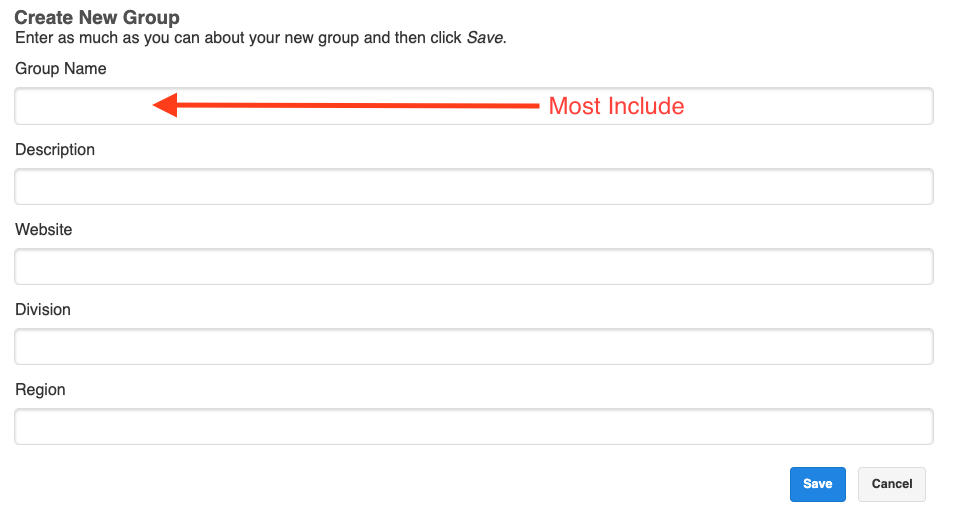
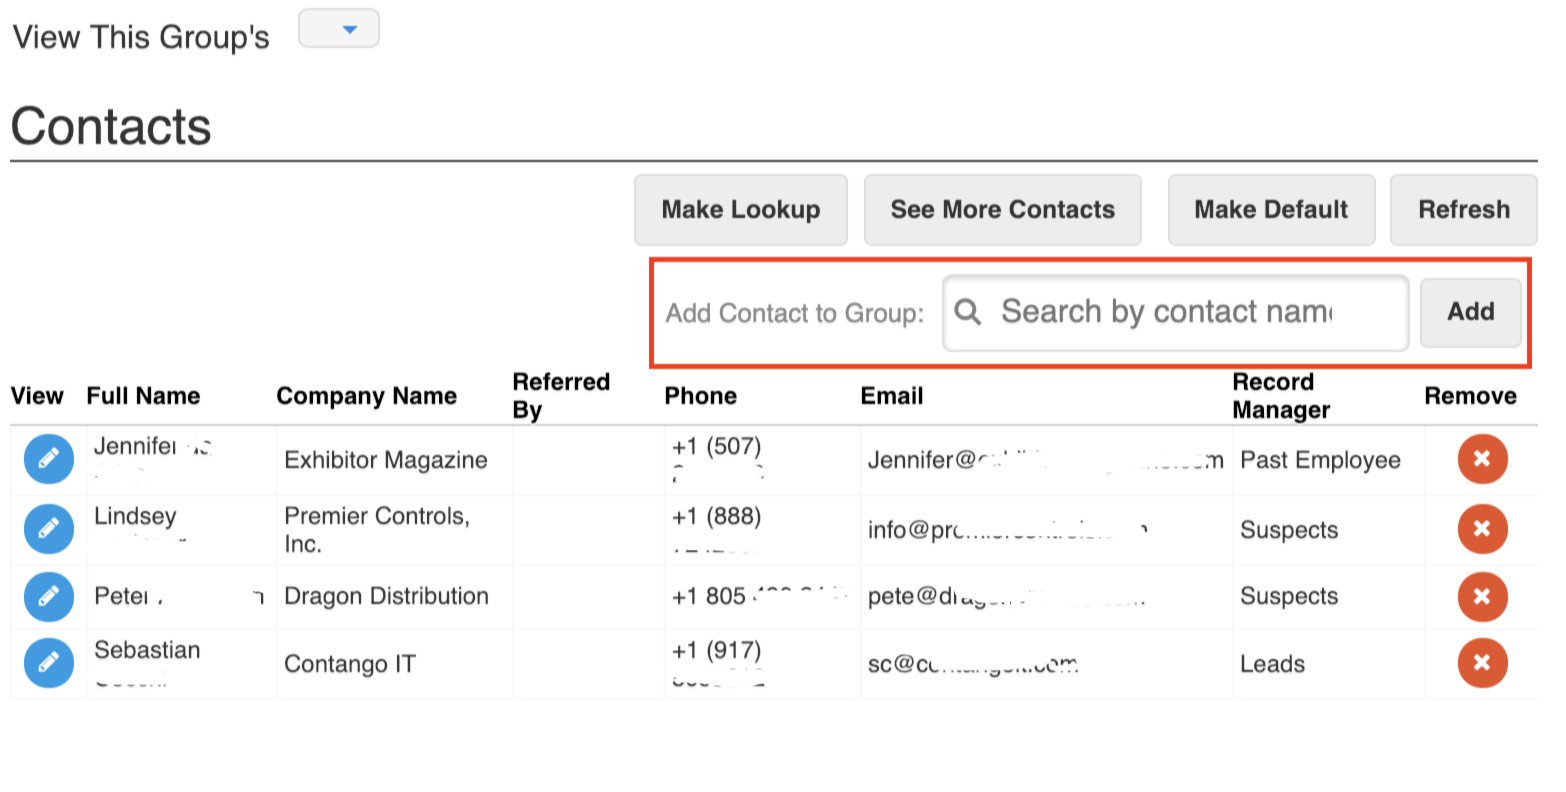
We recommend grouping your contacts on a common field that relates to your business needs. For example, if these contacts all came from a recent trade show, update the lead source field for all of them to say the name i.e. “Trade Show 2020”.
The biggest failure in sales is follow up. On average sellers follow up twice when they need to follow up at least 8 times.
What are some of the characteristics to automate follow up?
Lead nurture is a necessity for follow up. Automating the process demands having a CRM.
Use a drip campaign for the majority of leads who never get back to you.
Follow up emails should not be salesy. Instead they should share free advice similar to blog posts.
Simple little emails is the focus to automate Follow Up
KPIs Matter
We talked at length on what data to collect and when. The most important metrics are KPIs, Key Performance Indicators:
Every business is different. Don’t take the metrics out of the box, focus on data that make sense for you.
Number of calls, number of new leads are a good place to start.
Focus on little details e.g seller collected 100 qualified leads. But ask the question, is the target industry correct? Is the size of organization correct?
CRM Value to Manager and Seller
Configure the CRM in a way that adds value to both seller and sales manager. Make the CRM the source of all leads. Don’t forward the leads via email. The desire for new leads will keep sellers in the CRM. Inconsistency shows up when leads arrive all over the place. It’s a killer when you hope to automate follow up.
We thought you’d enjoy this. Give it a listen and let us know what you think!
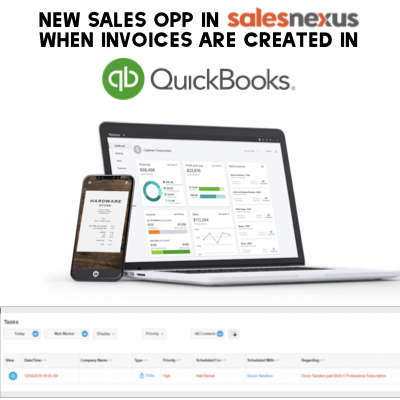
Today we’ll be showing you how to automatically create a new task for a member of your team in SalesNexus CRM when an invoice gets paid in the accounting software Quickbooks.
This can alert them in real time when an invoice is paid, what it was for, and how much they paid, so that they aren’t waiting around to be notified, and can take the appropriate next steps.
Using a free account with Zapier, you can integrate SalesNexus with thousands of apps that you use every day.
SalesNexus wants to invite you to our Zap on the platform Zapier! Click here to accept this invitation: SalesNexus Zapier Invitation!
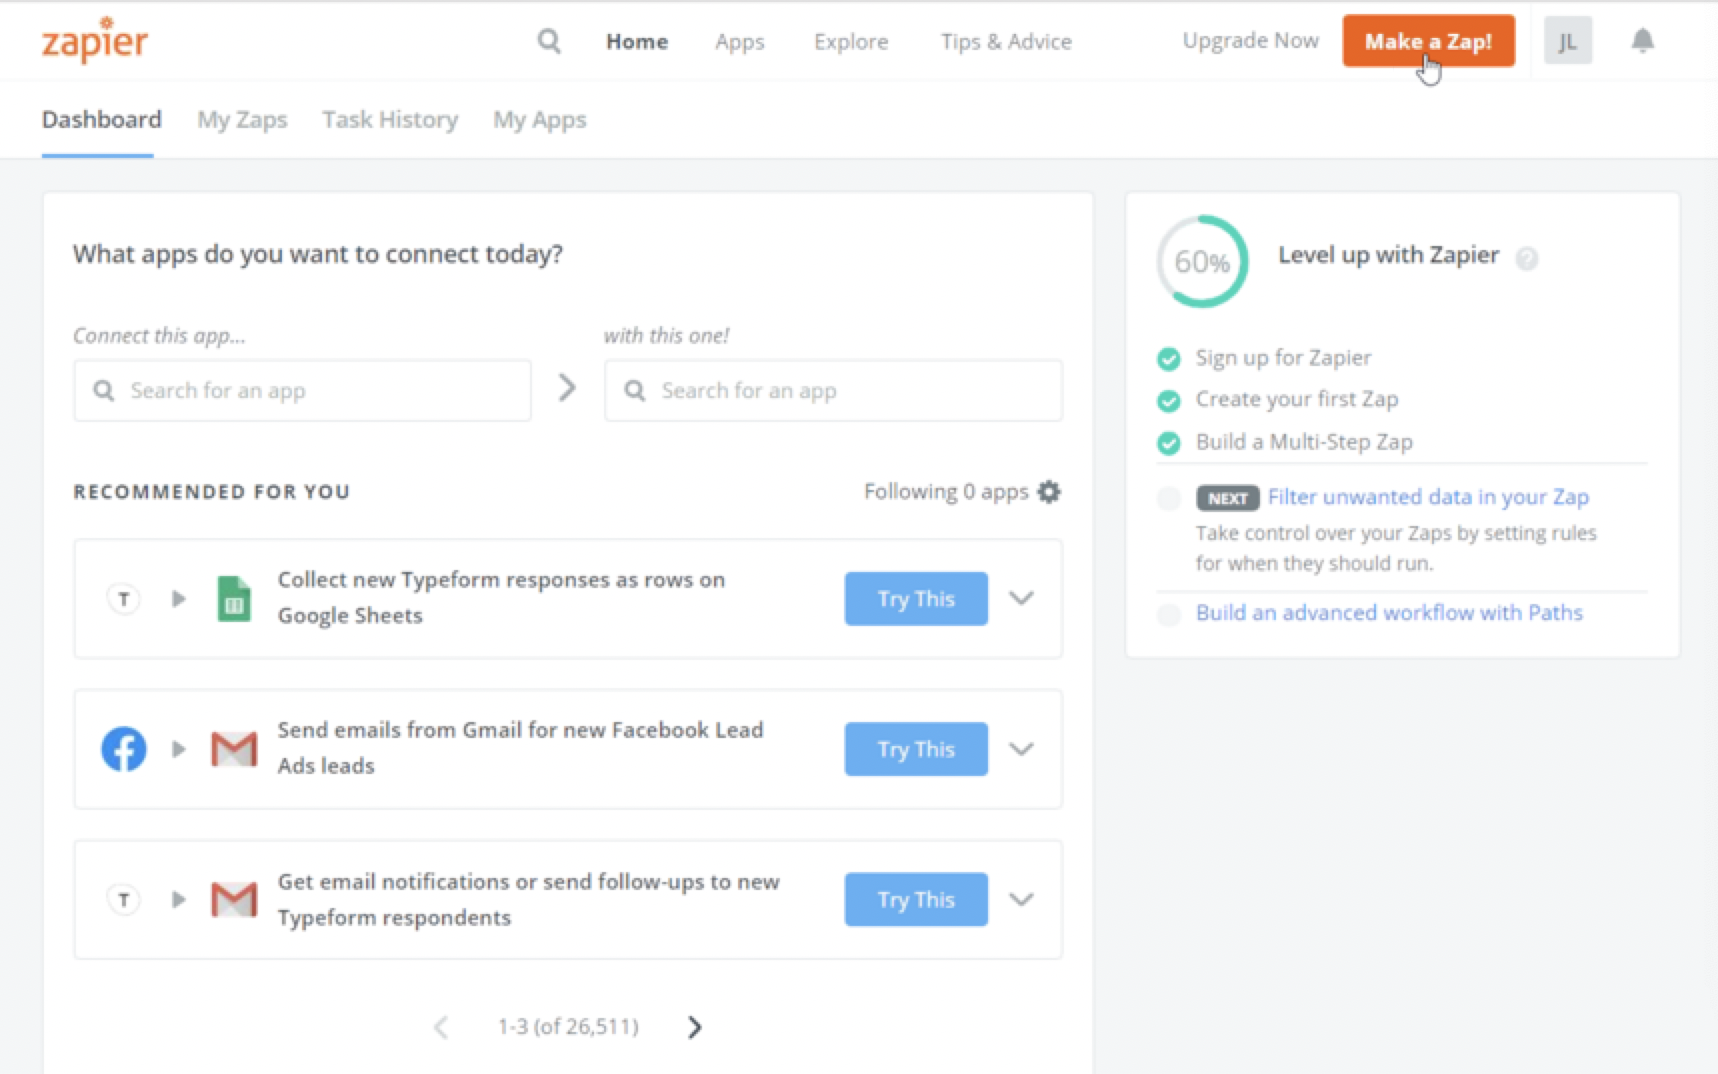
Once you click the invitation link and login to Zapier, you should see the following:
Click “Accept Invite & Build Zap
Click “Make a Zap” in the upper right hand corner
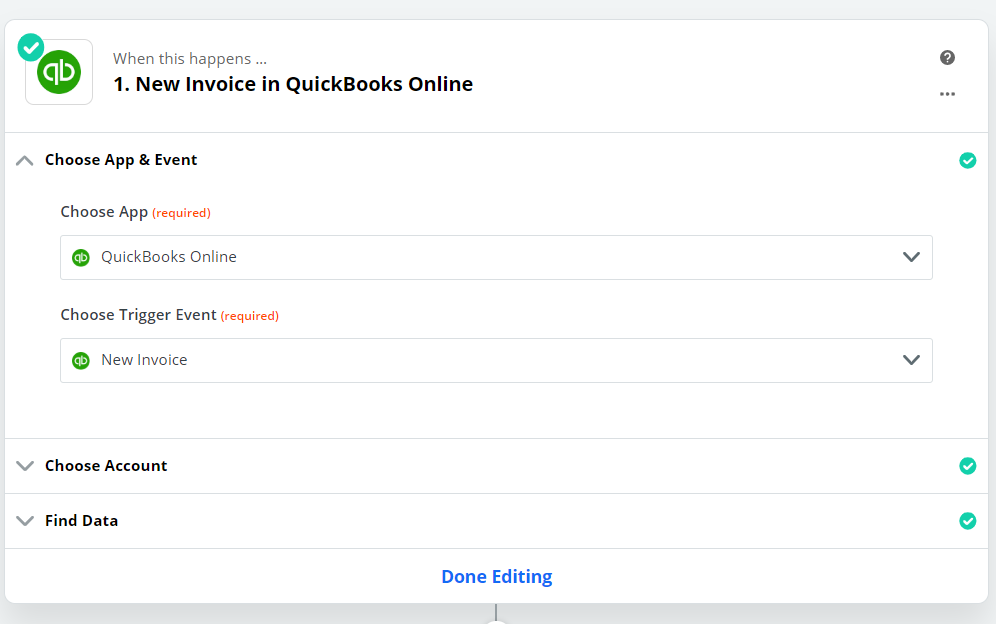
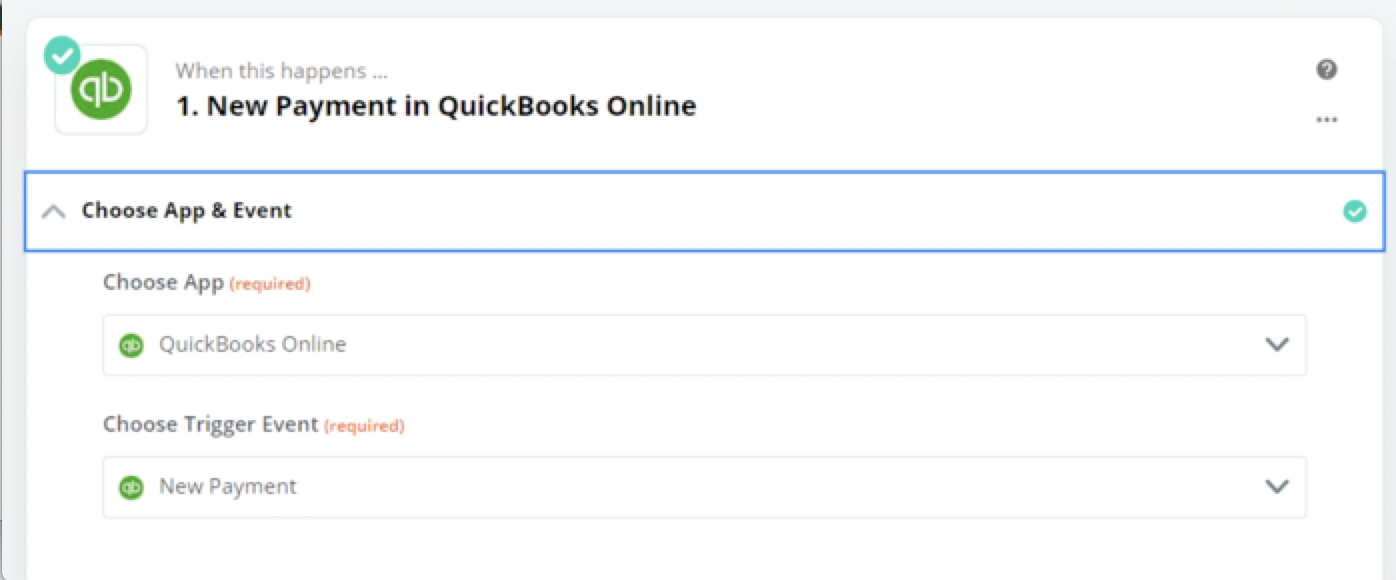
Choose the Quickbooks App and Trigger Event “New Invoice”
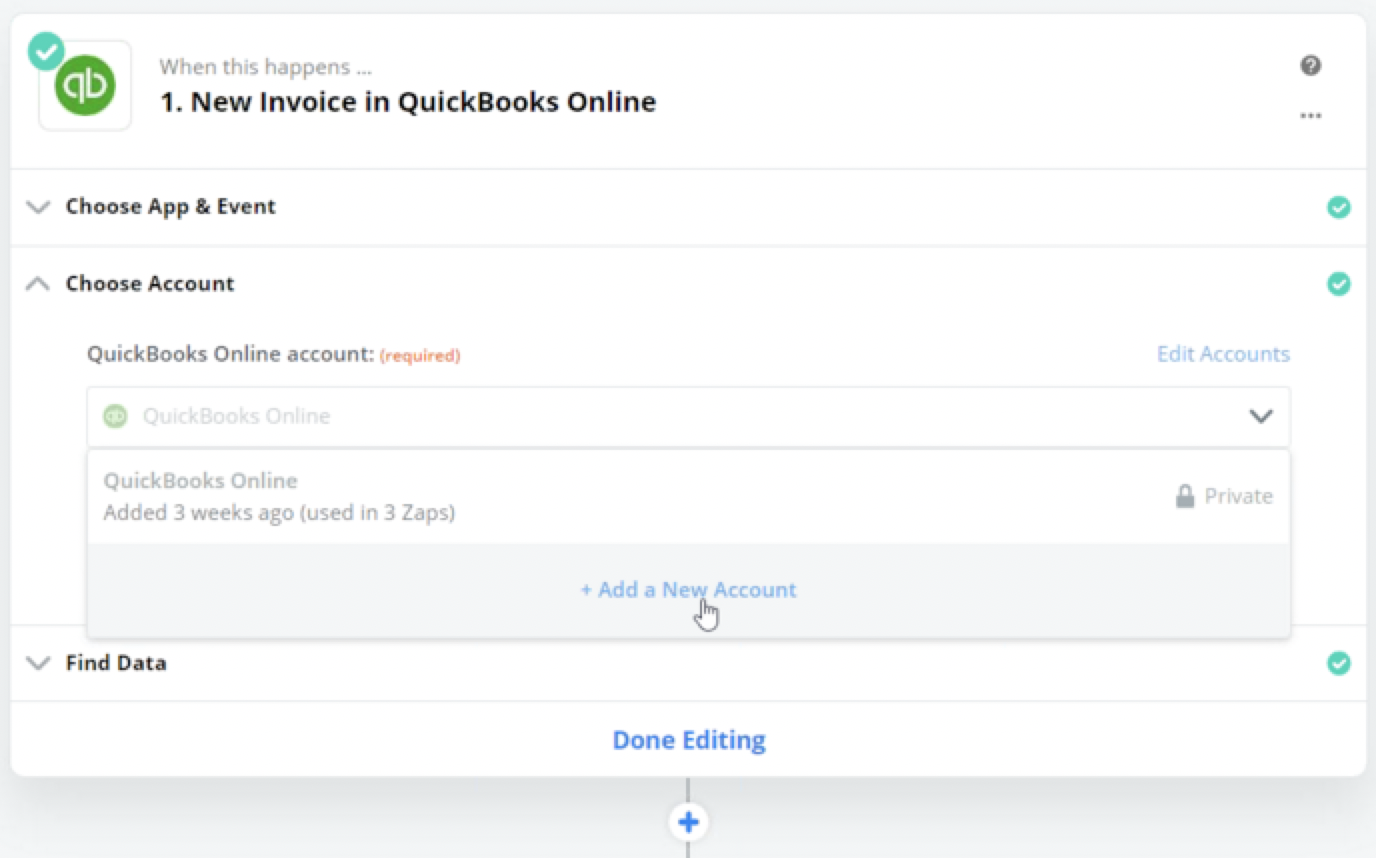
Choose your Quickbooks online account or “Add a New Account”
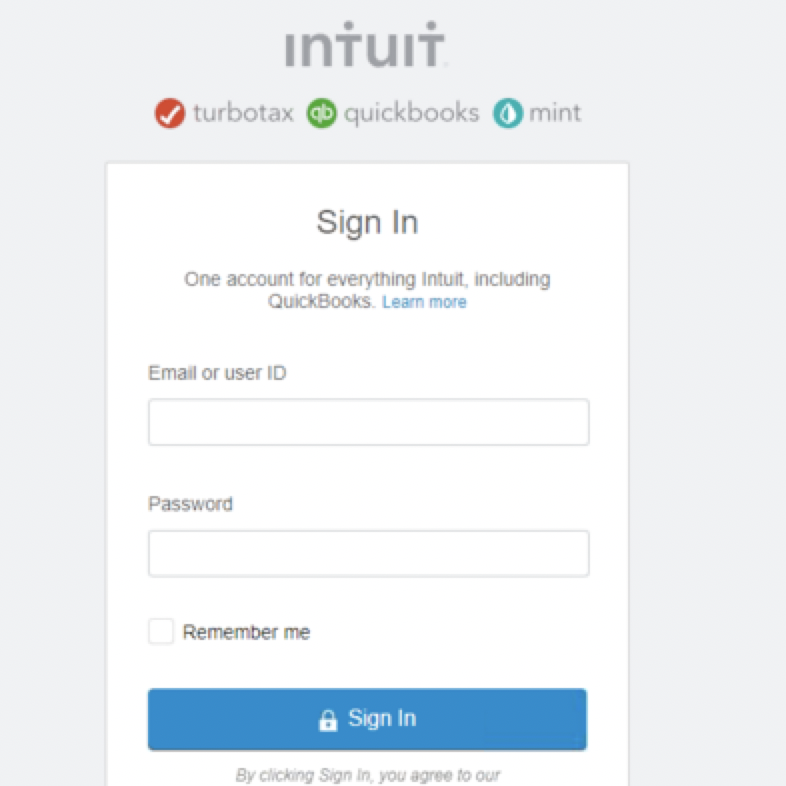
Enter Your Login Credentials for Quickbooks and click “Sign in”
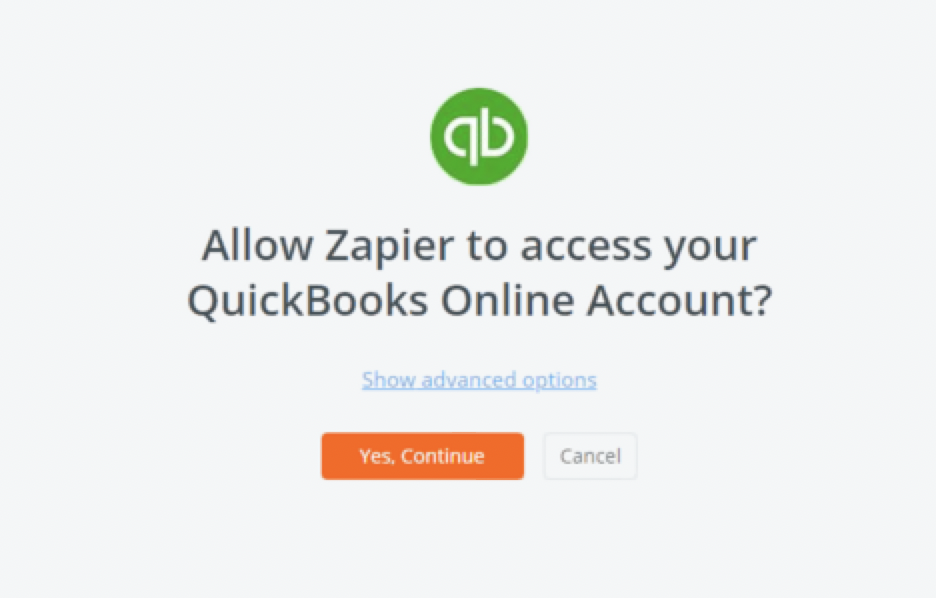
Confirm that you want to allow Zapier to connect your Quickbooks account by clicking “Yes, Continue”
Once your Quickbooks account is synced, you will have the option to automatically test for new invoices/data. For now, you can click “Skip Test” to move to the next step and do this part later.
Now you want to set up what happens in SalesNexus once an invoice is paid in Quickbooks.
Under “Choose App & Event” search for SalesNexus.
Then under “Choose Action Event” choose “New Payment”
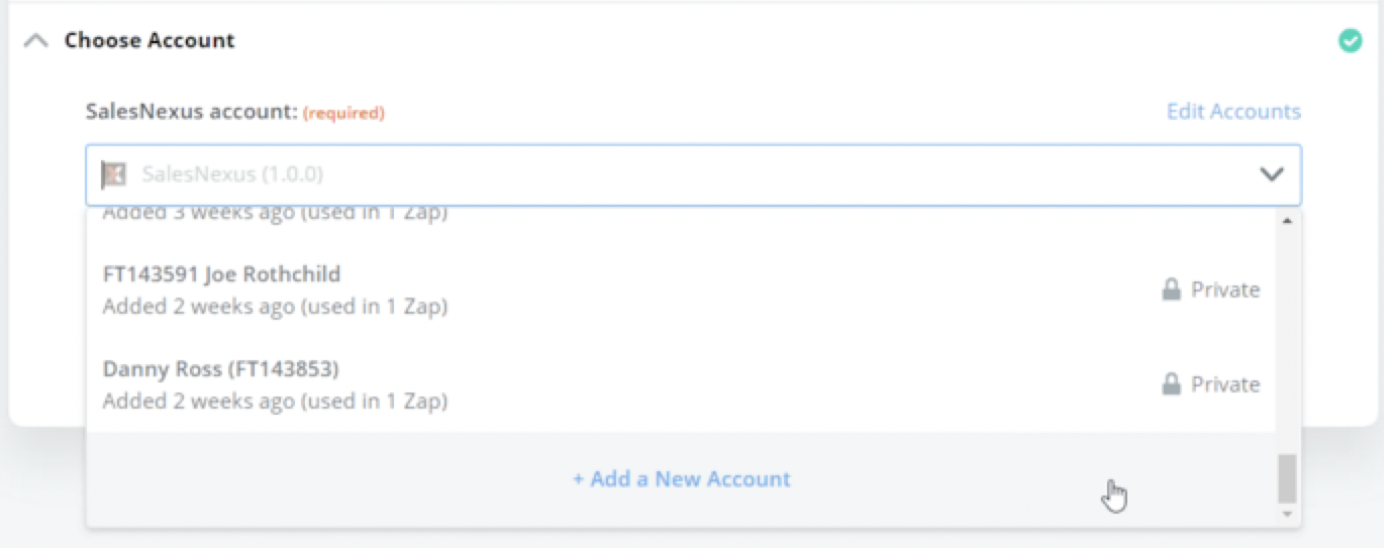
Next, you’re on to Step 2! Choose your SalesNexus account by clicking “Add a New Account”
Enter in your SalesNexus login credentials, and submit the information by selecting “Yes, Continue”.
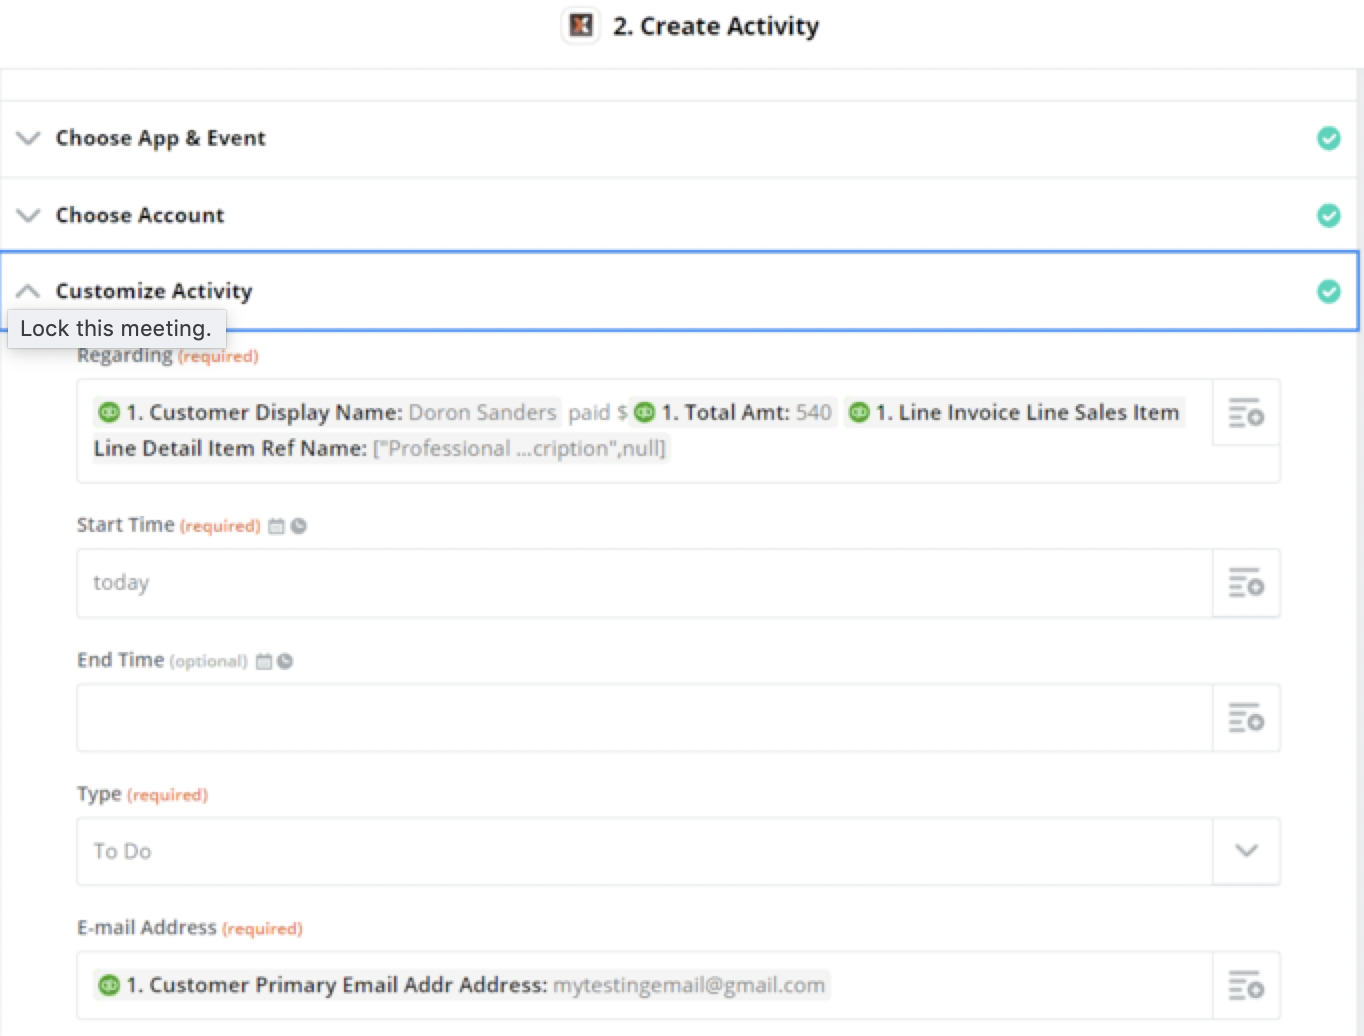
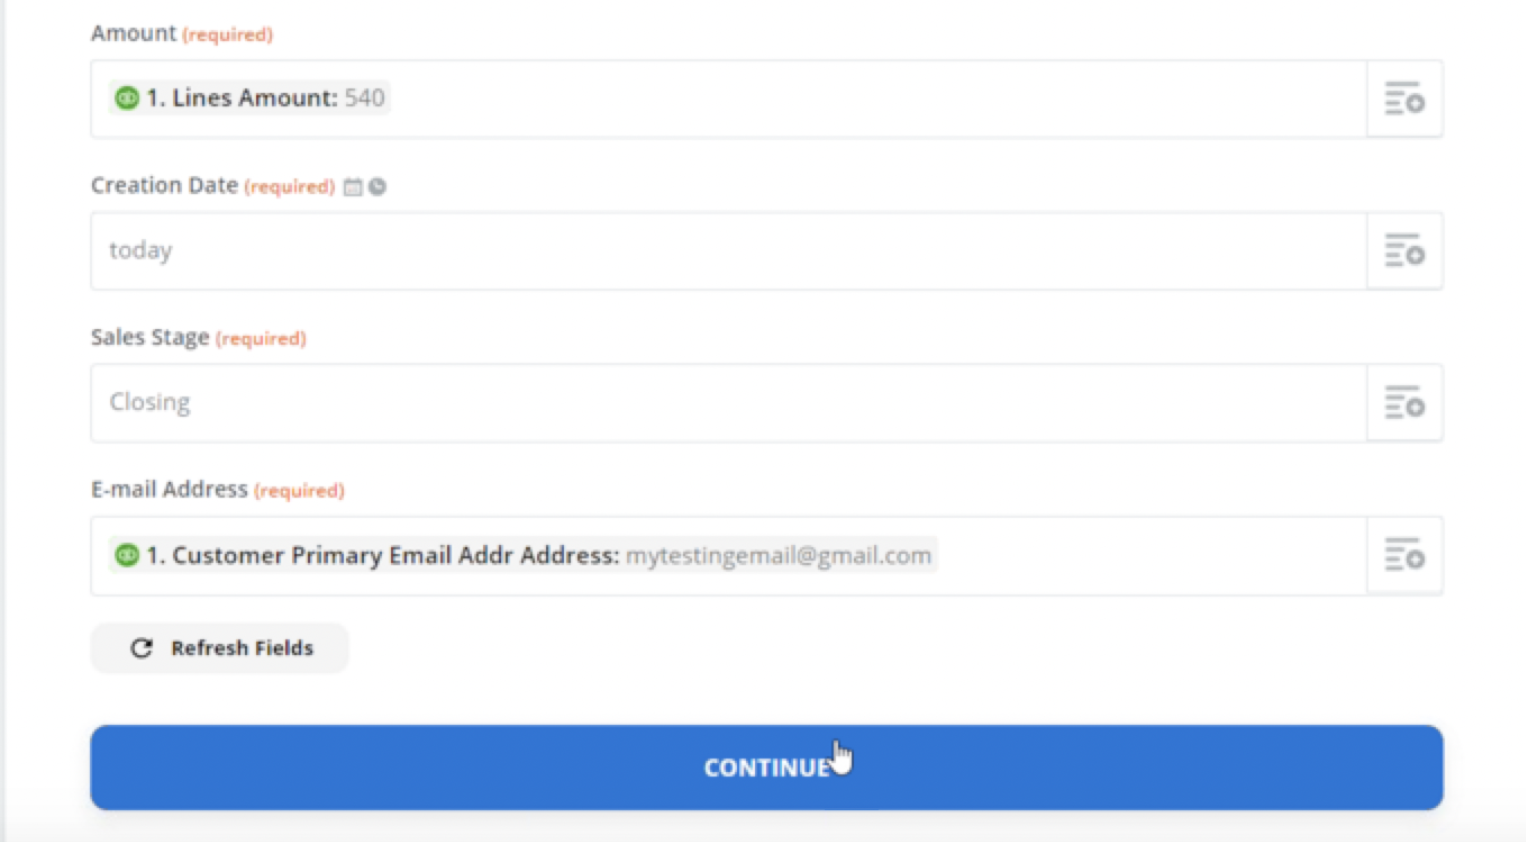
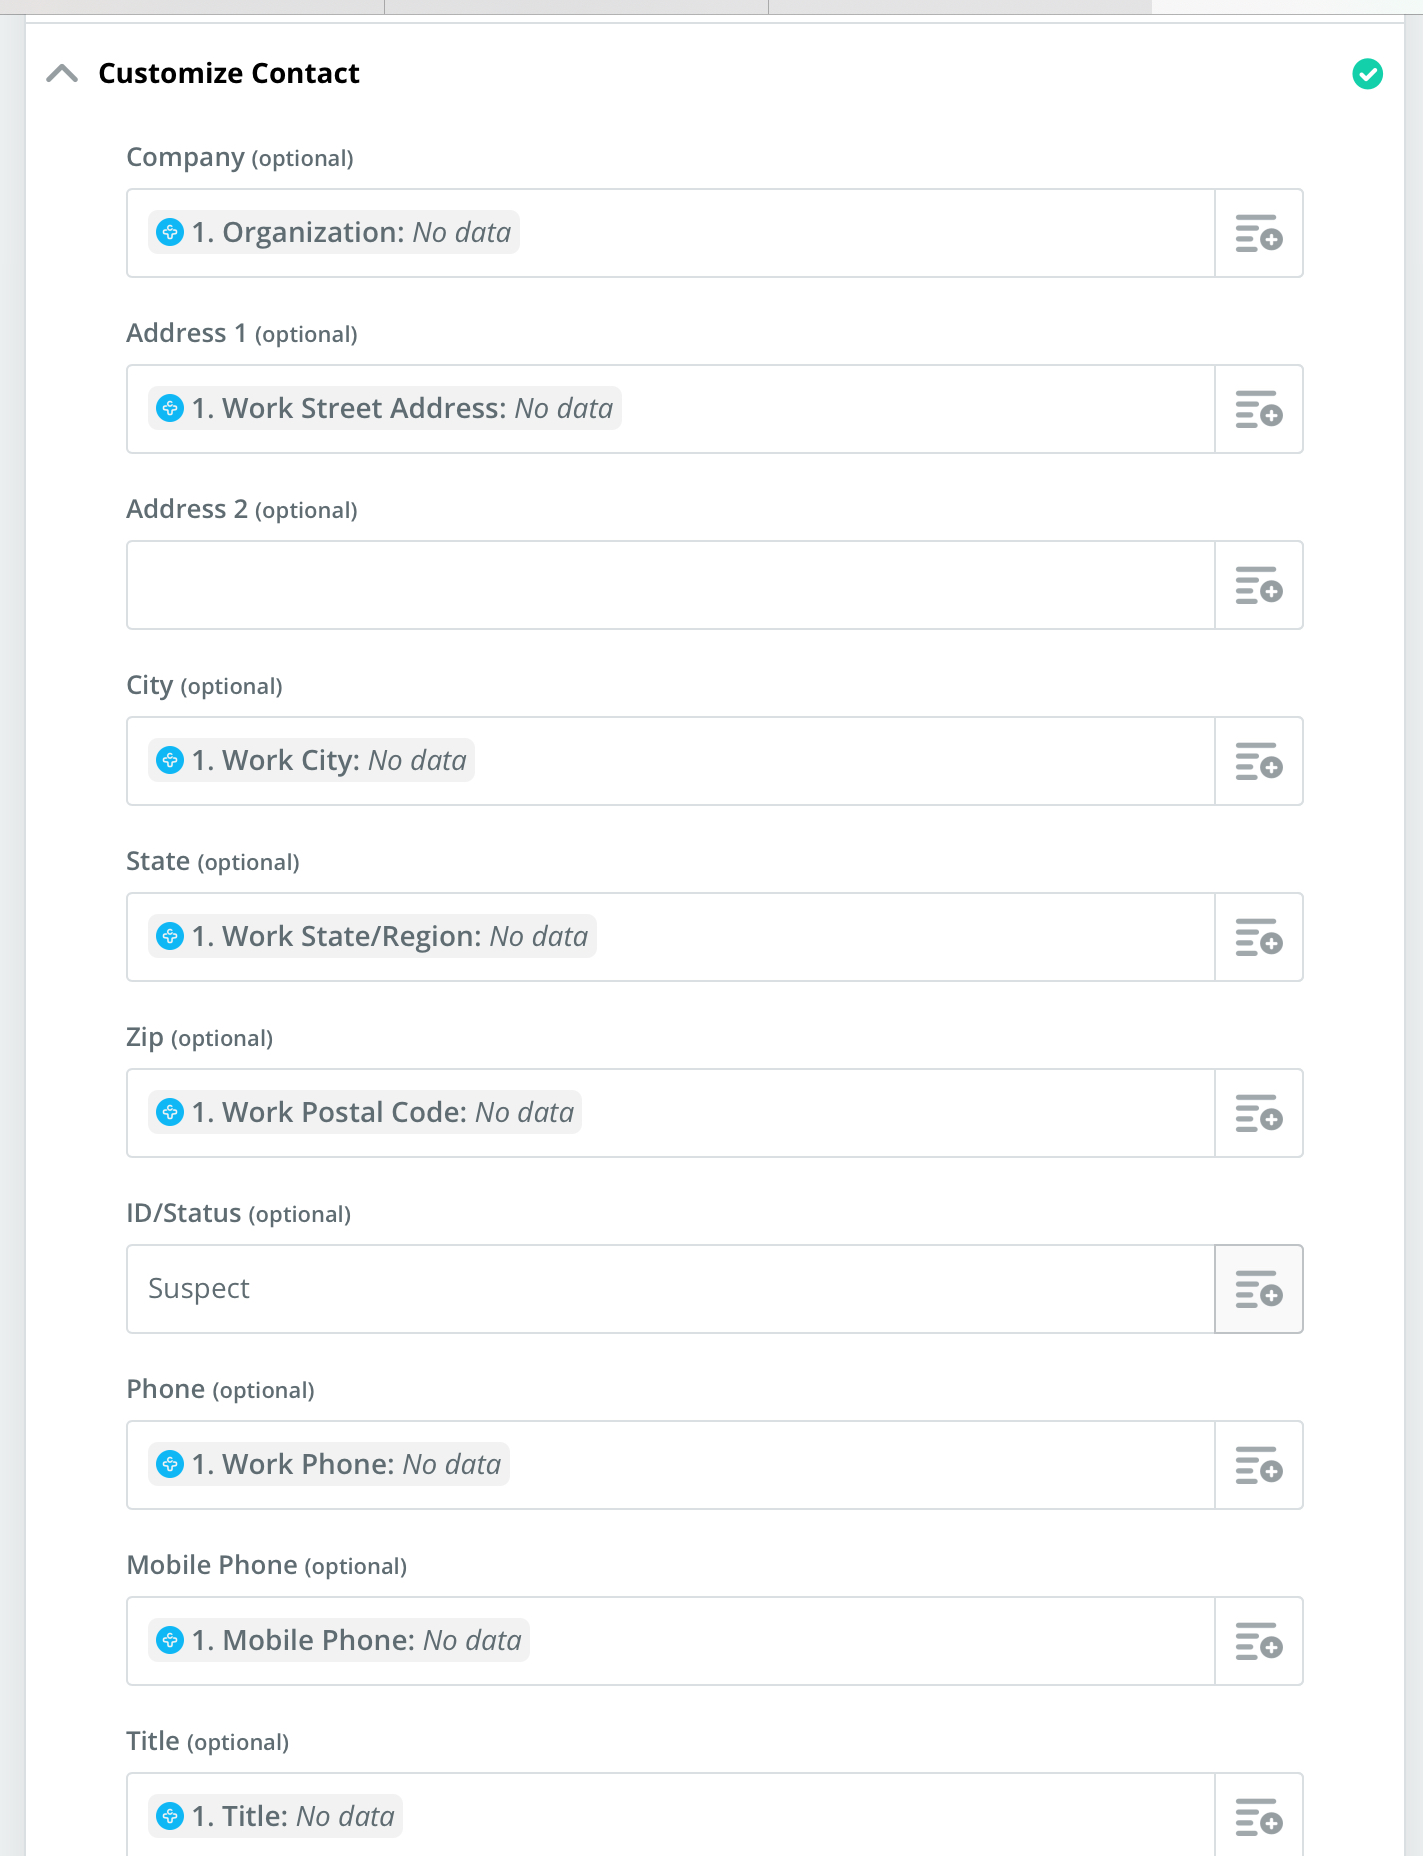
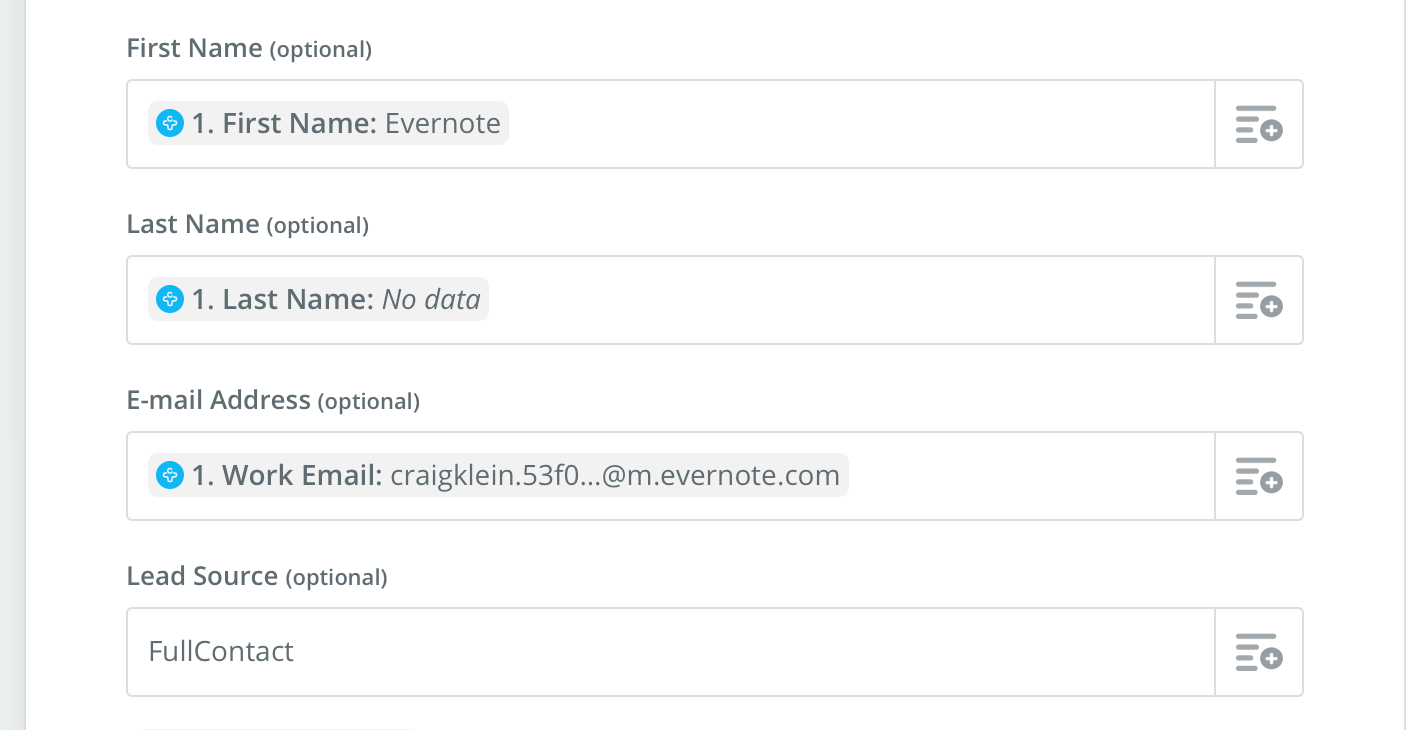
Now it’s time to customize how the task will appear in your task list in SalesNexus! Under “Choose Account, fill in the fields below as shown in the example images.
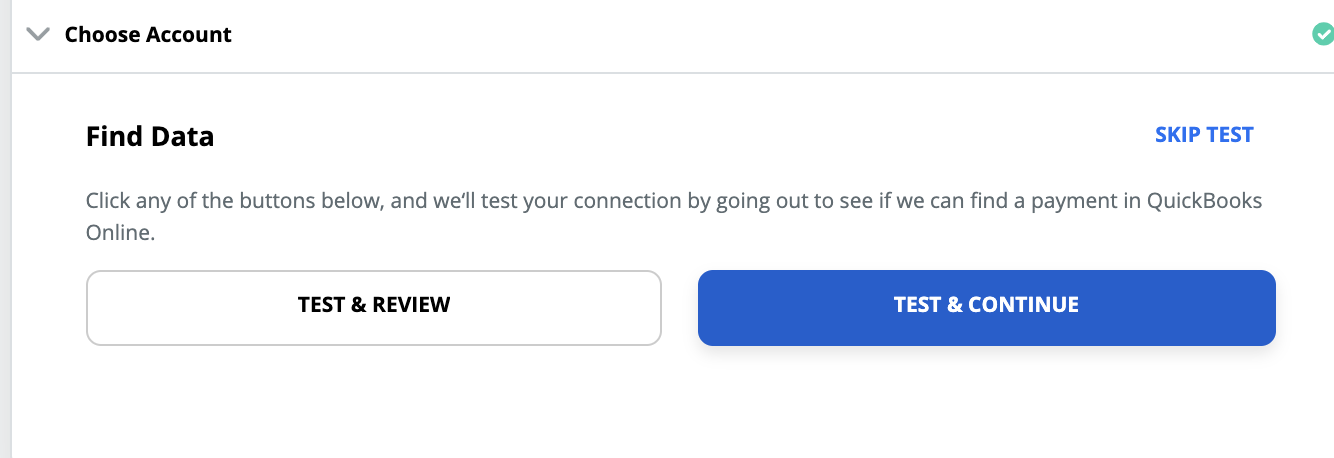
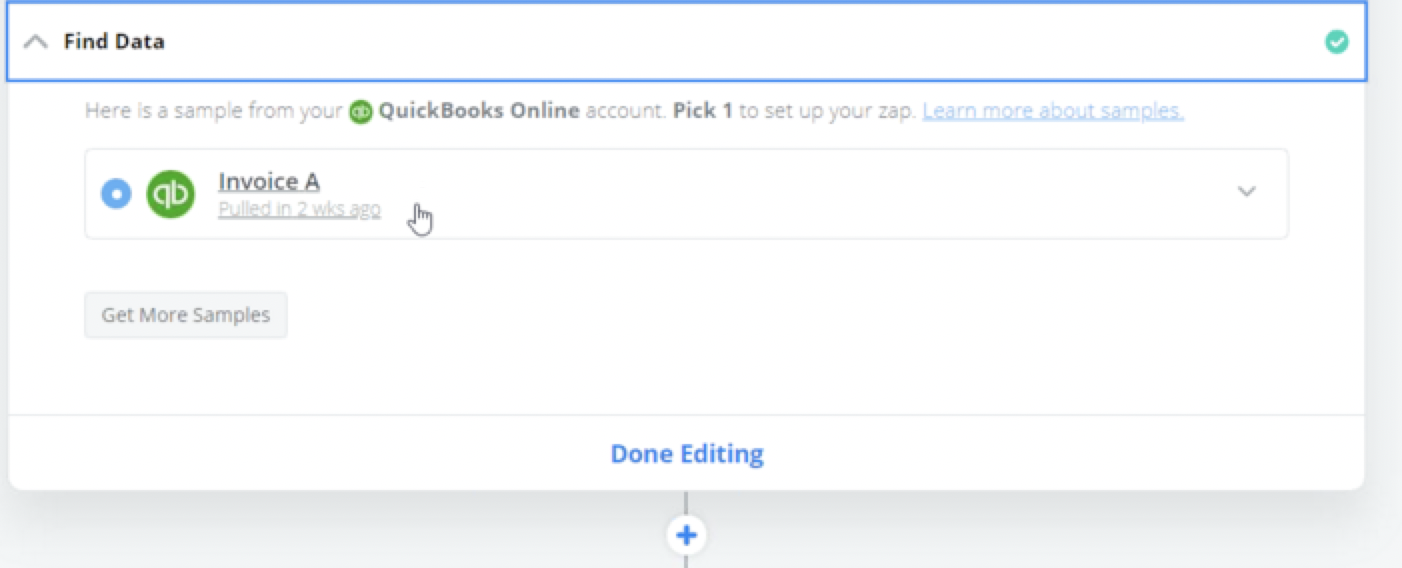
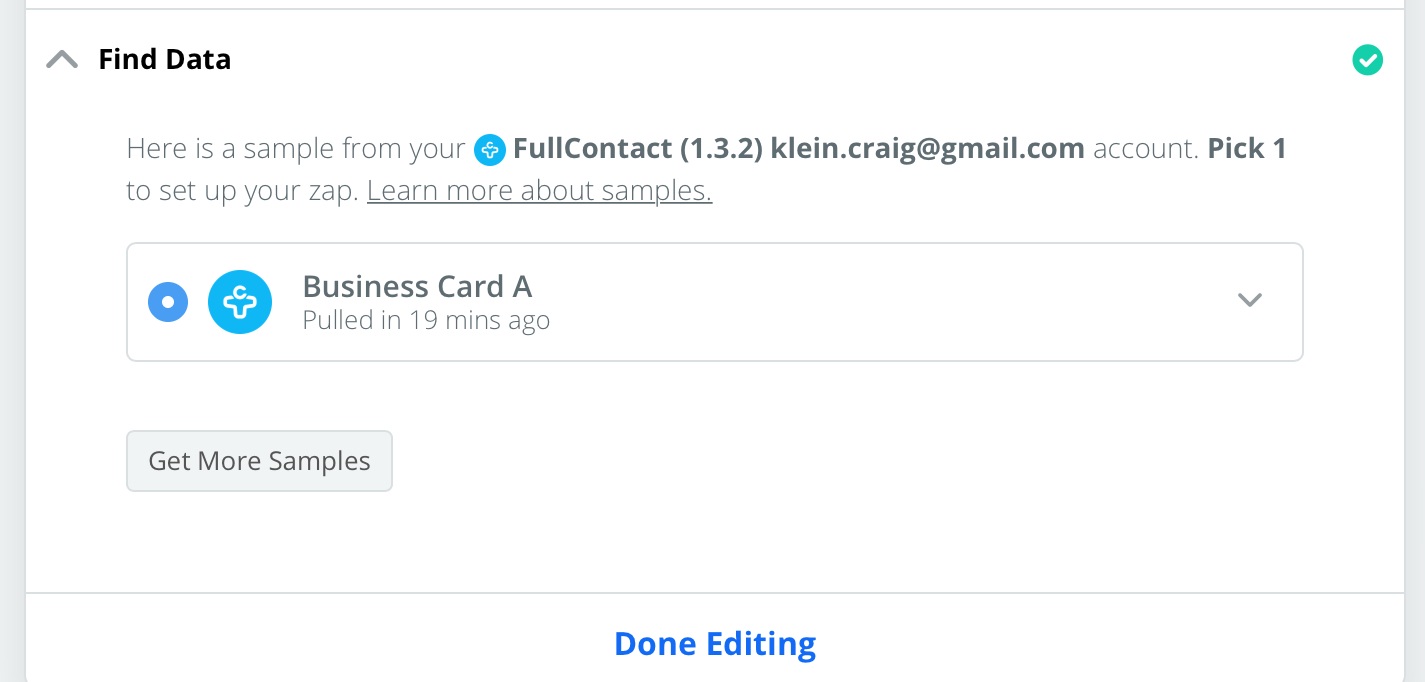
Almost done! Once you’ve clicked continue, Zapier will ask to “Find Data” and bring in some sample invoices that were recently paid from Quickbooks to send to SalesNexus to Test your Zap.
To test your new Zap setup by sending a Test Payment Notification Task to SalesNexus, Under Customize and “Send Data” click “Test and Continue” to move on.
Login to your SalesNexus and check your tasks under Menu > Tasks > View Task List and boom!
An invoice created in Quickbooks, will create a task for you in SalesNexus notifying you of the payment, what it was for, and the $ amount.
Final Step – Make sure your zap is turned on by going to “My Zaps” in Zapier and ensuring your zap is toggled “on”.
Using a free account with Zapier, you can integrate SalesNexus with thousands of apps that you use every day.
Today we’ll be showing you how to automatically create a new task for a member of your team in SalesNexus CRM when an invoice gets paid in the accounting software Quickbooks.
This can alert them in real time when an invoice is paid, what it was for, and how much they paid, so that they aren’t waiting around to be notified, and can take the appropriate next steps.
SalesNexus wants to invite you to our Zap on the platform Zapier! Click here to accept this invitation: SalesNexus Zapier Invitation!
Once you click the invitation link and login to Zapier, you should see the following:
Click “Accept Invite & Build Zap
Click “Make a Zap” in the upper right hand corner
Choose the Quickbooks App and Trigger Event “New Invoice”
Choose your Quickbooks online account or “Add a New Account”
Enter Your Login Credentials for Quickbooks and click “Sign in”
Confirm that you want to allow Zapier to connect your Quickbooks account by clicking “Yes, Continue”
Once your Quickbooks account is synced, you will have the option to automatically test for new invoices/data. For now, you can click “Skip Test” to move to the next step and do this part later.
Now you want to set up what happens in SalesNexus once an invoice is paid in Quickbooks.
Under “Choose App & Event” search for SalesNexus.
Then under “Choose Action Event” choose “New Payment”
Next, you’re on to Step 2! Choose your SalesNexus account by clicking “Add a New Account”
Enter in your SalesNexus login credentials, and submit the information by selecting “Yes, Continue”.
Now it’s time to customize how the task will appear in your task list in SalesNexus! Under “Choose Account, fill in the fields below as shown in the example images.
Almost done! Once you’ve clicked continue, Zapier will ask to “Find Data” and bring in some sample invoices that were recently paid from Quickbooks to send to SalesNexus to Test your Zap.
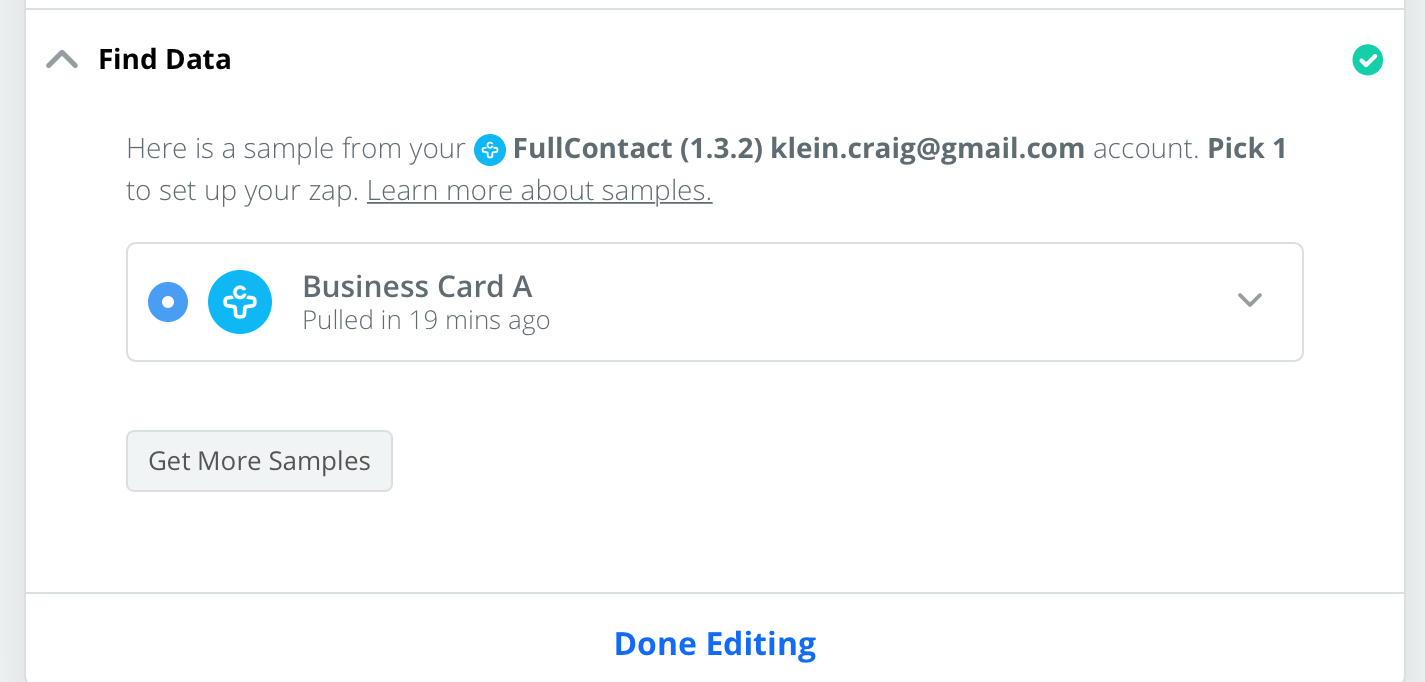
To test your new Zap setup by sending a Test Payment Notification Task to SalesNexus, Under Customize and “Send Data” click “Test and Continue” to move on.
Login to your SalesNexus and check your tasks under Menu > Tasks > View Task List and boom!
An invoice created in Quickbooks, will create a task for you in SalesNexus notifying you of the payment, what it was for, and the $ amount.
Final Step – Make sure your zap is turned on by going to “My Zaps” in Zapier and ensuring your zap is toggled “on”.
Want to add new fields to SalesNexus for the Sales Opportunity Page?
First, you’ll add the fields to SalesNexus, as shown in Step 1, and then you’ll add them to your Sales Opportunity Layout as shown in Step 2. Read on for details.
Step 1
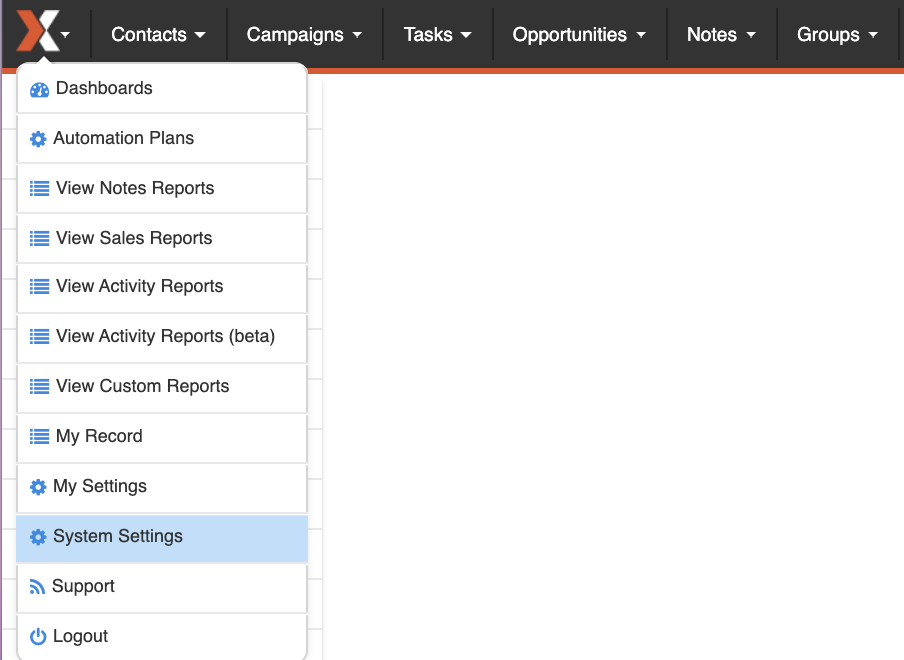
Go to the “X” menu > System Settings > Create and change Fields.
Choose the area you want to add the field to (To Update Your Sales Opportunity Tab, click Sales)
Click “Add New Field”
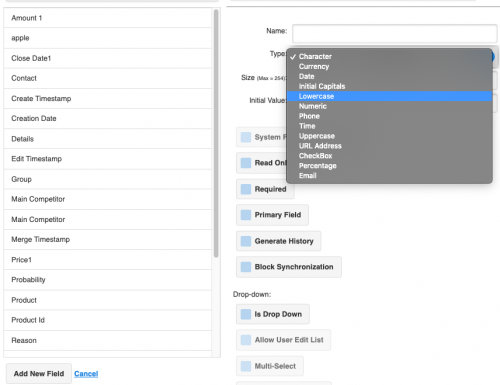
Fill in the information for your new Field
Choose the Type of Data stored in the Field, i.e. character, currency, date, etc
Specify the size of the Field
To have the field show in the Quick Search Bar, select the “Primary field” option
*To use your new Field add it to any corresponding Layout in SalesNexus as shown in Step 2 below.
NOTE:Any field, even custom fields, can be listed in the Quick Search if the “Primary field” option is checked. For more information on Quick Search, see: How to use Quick Search
Step 2
Once you’ve added the field, now it’s time to add it to your Sales Opportunity Layout Page!
From the Menu Bar, Click “Create New Opportunity”, or “View Opportunities” to bring up an existing opportunity
Once you’ve created a new opportunity click “save” and then click edit layout. OR on an existing opportunity, go directly to “Edit Layout” on the Right Hand Layout
**Note: If the right hand layout is not immediately available, please click “save” to refresh the page.
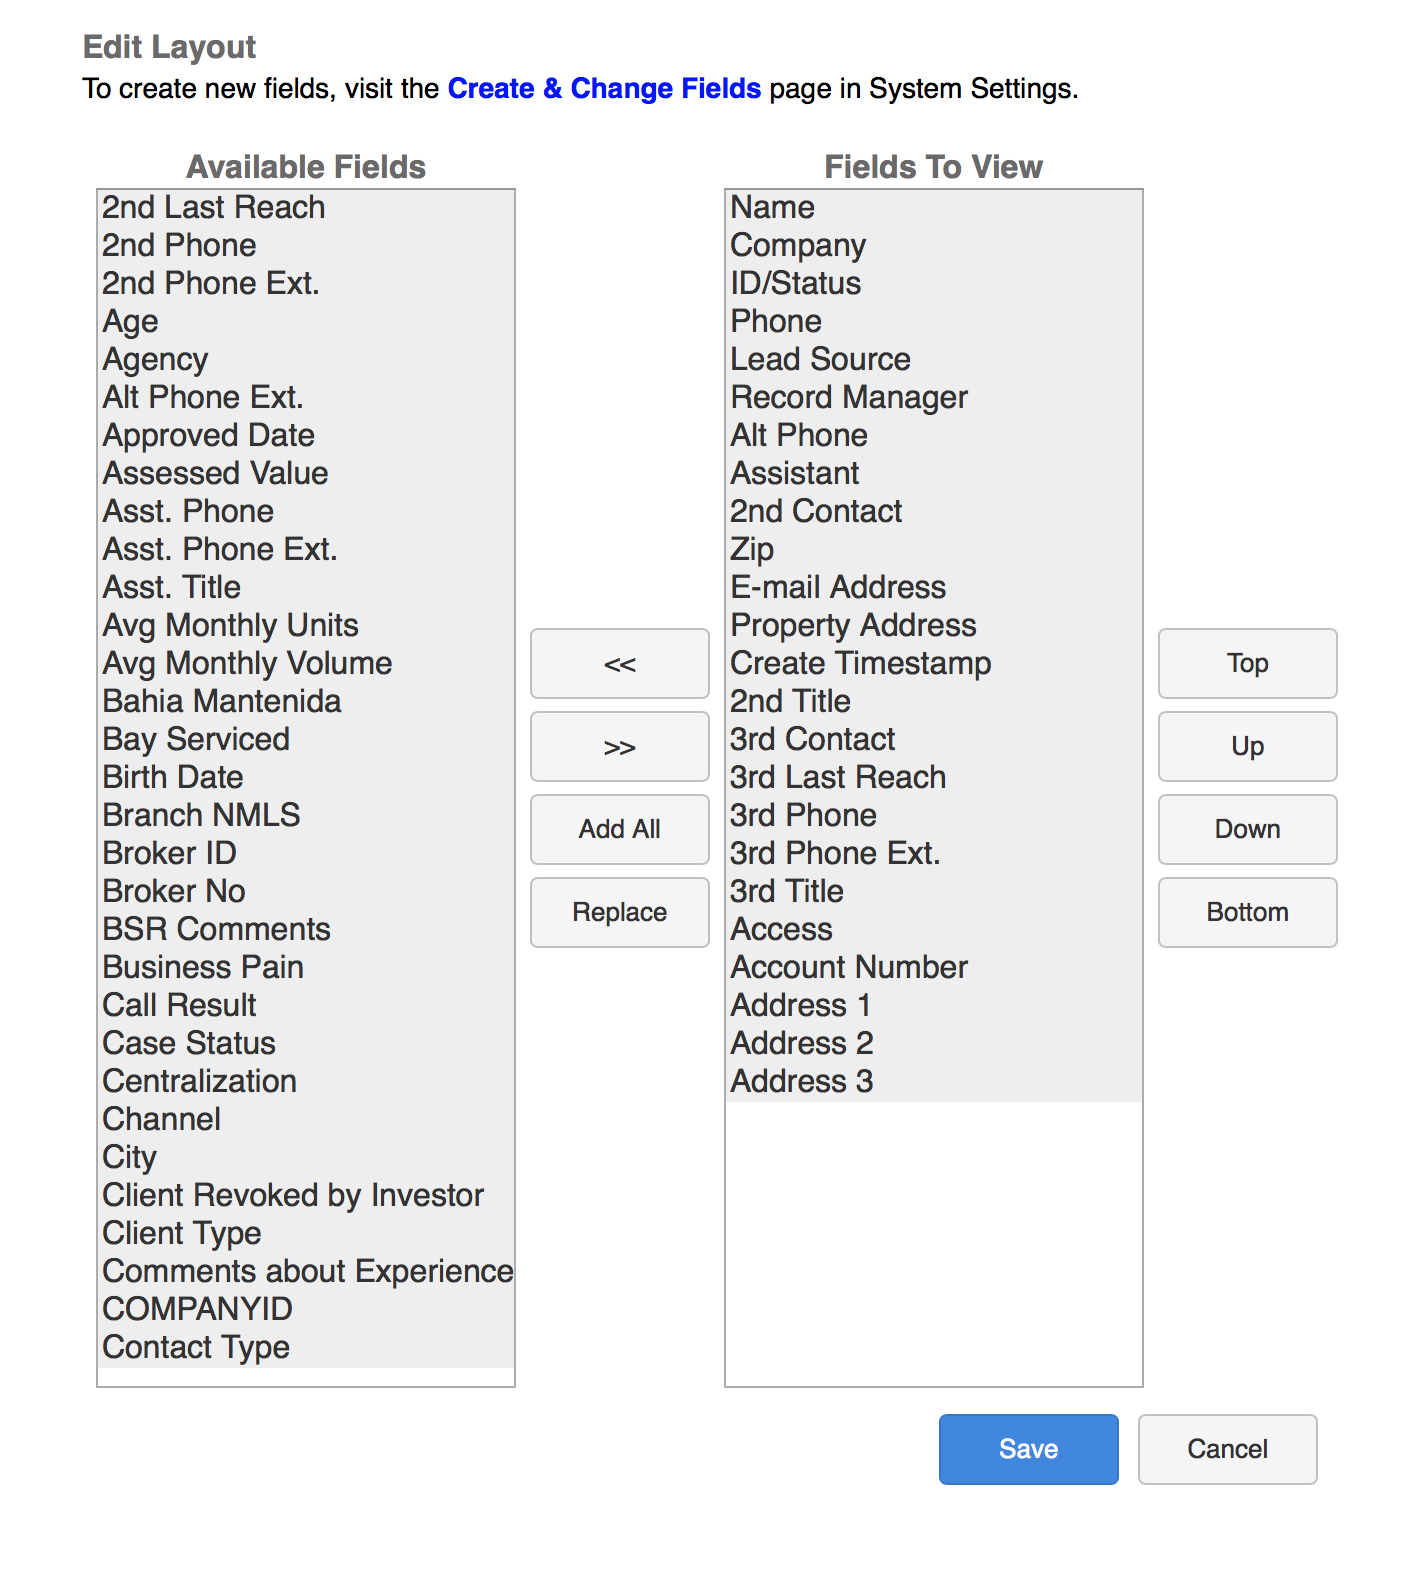
Pick “Select Layout” and move the new field from the list of “Available Fields” to the list of “Fields to View” by selecting it, and clicking “>>” to complete the transfer.
Edit Information on Lookups and View All Contacts Screen by simply Clicking & Holding on any Field
To do this, follow below:
Click on the Field you want to edit, and hold for 5 Seconds
NOTE: To reduce the amount of time required to “hold” the click, go to X > My Settings > Delay before edit contact field on hold click, and change the value to the desired duration (Example: 3)
Once the “hold” is recognized, the field opens for editing
Change/Enter the value and click away (anywhere on the screen) and the information will auto-save