Separate and Group your Contacts by using the Group feature in SalesNexus!
The following steps will show you how to add a New Group in Salesnexus.
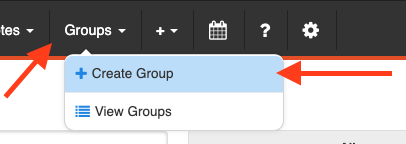
1) Click on Groups -> Create Group
2) On the “Create new Group” Window, you will have to add the Name the other fields are optional.
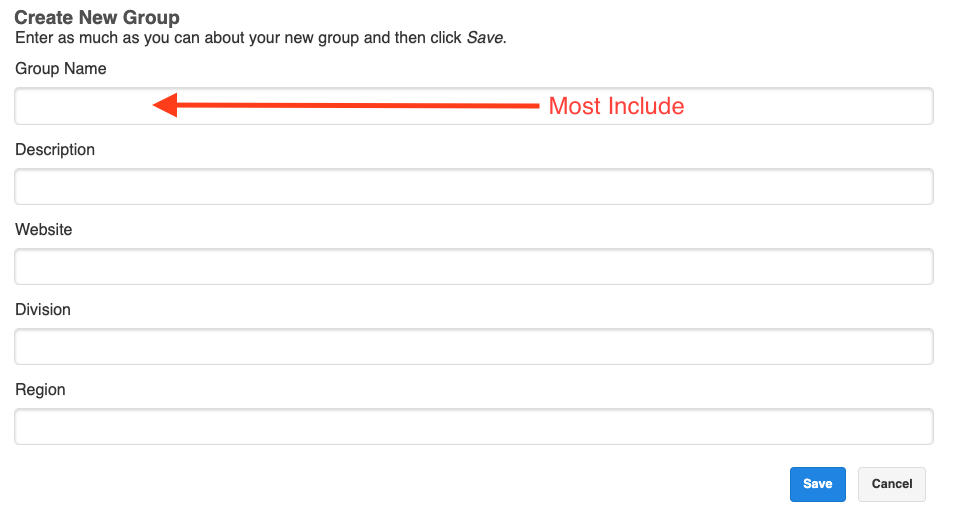
3) Click save
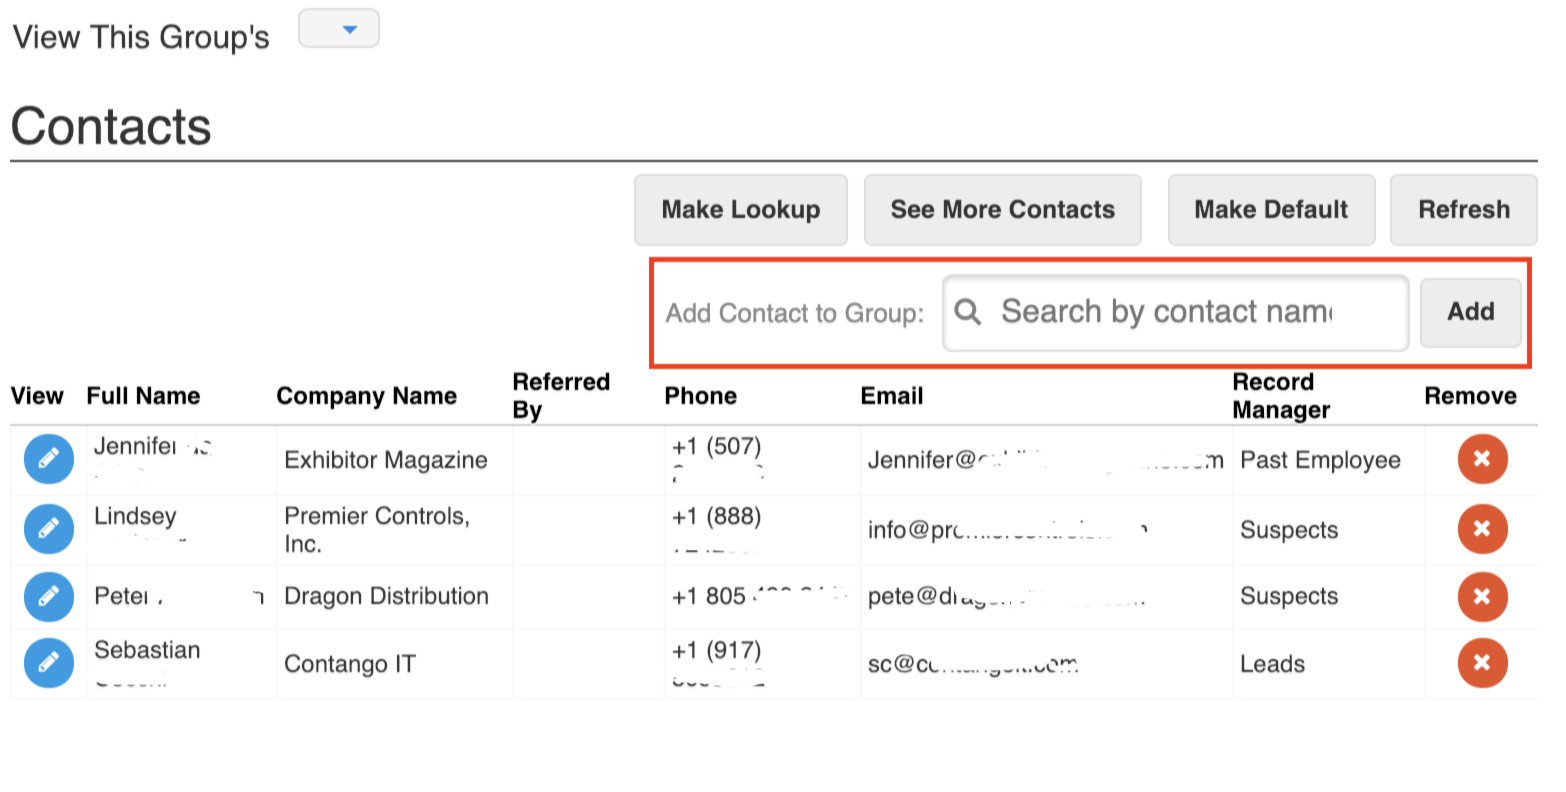
Step 2- Adding Contacts to Your Group
4) After Saving your Group, now it’s time to Add Contacts to Your Group
Note- You must have administrator privileges to perform the next step > How to Enable Export and Mass Update Rights For A User
5) Once you’ve added all the contacts for this group, click “Make Lookup”. This pulls up a list of the contacts you’ve added to this group.
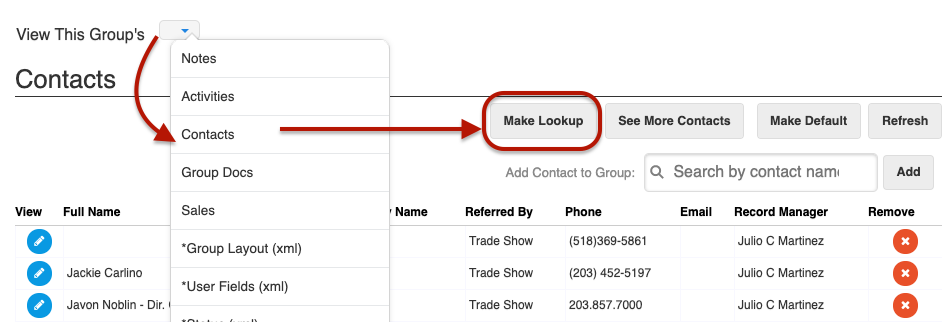
To ensure that you’ll be able to create a lookup for the contacts inside your Groups, you will need to perform a mass update to these contacts in your lookup.
We recommend grouping your contacts on a common field that relates to your business needs. For example, if these contacts all came from a recent trade show, update the lead source field for all of them to say the name i.e. “Trade Show 2020”.
Here’s how to do this: https://salesnexussupport.zendesk.com/hc/en-us/articles/360019784072-How-to-Perform-a-Mass-Bulk-Update